1. Before you begin
You'll need two Windows machines on the same network:
| Role | Requirements |
|---|---|
| Host Media Center PC |
Windows 7 (any edition with Media Center). This is the PC that has your TV tuners, recordings and media library. Windows 8 / 8.1 — WIP SoftSled should work with Windows 8 / 8.1 + Windows Media Center, but pairing is currently broken there, so Windows 7 is recommended for now. |
| Extender SoftSled PC |
A Windows PC to watch from. This runs the SoftSled extender app and renders the Media Center experience. |
2. Prepare the host PC
Media Center will only talk to extenders whose certificate it trusts, and it normally insists on checking a certificate revocation list (CRL) that SoftSled's certificates don't publish. The SoftSled Host Setup tool handles both requirements for you. Download it from the Downloads page and run it as administrator on the host PC. It performs two reversible changes:
- Installs the SoftSled CA certificate into the Local Machine → Trusted Root Certification Authorities store, so Media Center trusts extender certificates SoftSled generates.
- Patches
Mcx2Prov.exein place (in%WINDIR%\ehome) so it skips the CRL check. The tool finds and flips the relevant byte in the host's own binary by signature — nothing is downloaded or swapped in — and a backup of the original is kept automatically, so genuine extenders continue to pair and connect as normal.
The tool detects the current state on launch and offers Install / Re-install and Uninstall buttons, so you can cleanly revert both changes at any time.
Mcx2Prov.exe is a protected, TrustedInstaller-owned system file. The Host Setup tool takes ownership, patches it in place and keeps a .softsled-backup copy — which is exactly what its Uninstall button restores.
3. First launch — the setup wizard
On the PC you want to watch from, download the SoftSled Extender from the Downloads page and launch it.
The wizard walks you through:
-
Networking
Tell SoftSled whether this device is on wired Ethernet or Wi-Fi. A wired connection is recommended — it's stable enough to enable Remote Rendering, where Media Center draws the interface for the smoothest, most responsive result. On Wi-Fi, Remote Rendering is turned off to keep things responsive.
-
Display
Say whether you're on a TV or a monitor/laptop. TVs get the 10-foot skin with larger, couch-friendly text designed to be read from across the room.
-
Animations Wi-Fi only
If Remote Rendering is off, the host streams the interface frame-by-frame, so you can dial animations to Full, Minimal (recommended) or None to keep things crisp over a busier link.
-
Resolution
Pick the resolution SoftSled requests from Media Center (your display is auto-detected) and choose whether to run full screen.
-
Startup behaviour
Decide whether SoftSled should connect to Media Center automatically on open, and whether it should close when the Media Center session ends.
Finish the wizard and you'll land on the SoftSled shell, ready to pair.
4. Start pairing in SoftSled
-
Open Settings → Pairing
From the SoftSled shell, choose Settings, then Pairing, and start the setup. SoftSled can generate its own extender certificate on the fly — no manual certificate juggling required.
-
Note your setup key
SoftSled advertises itself on the network as a Media Center Extender and shows you the 8-digit setup key you'll type into Media Center.
5. Pair with Media Center
Back on the host PC, inside Windows Media Center:
-
Open Settings → Extenders
In Media Center, go to Settings → Extenders. SoftSled should appear in the list of discovered extenders.
-
Configure & enter the key
Select SoftSled, choose Configure, and enter the setup key from the SoftSled app. Media Center runs through its pairing steps and provisions the extender.
-
Receive the credentials
When pairing completes, the host creates a dedicated
Mcxuser account and SoftSled receives the connection details. -
Connect
Choose Start Extender in SoftSled. It opens the Media Center session over RDP and drops you onto the Media Center home screen.
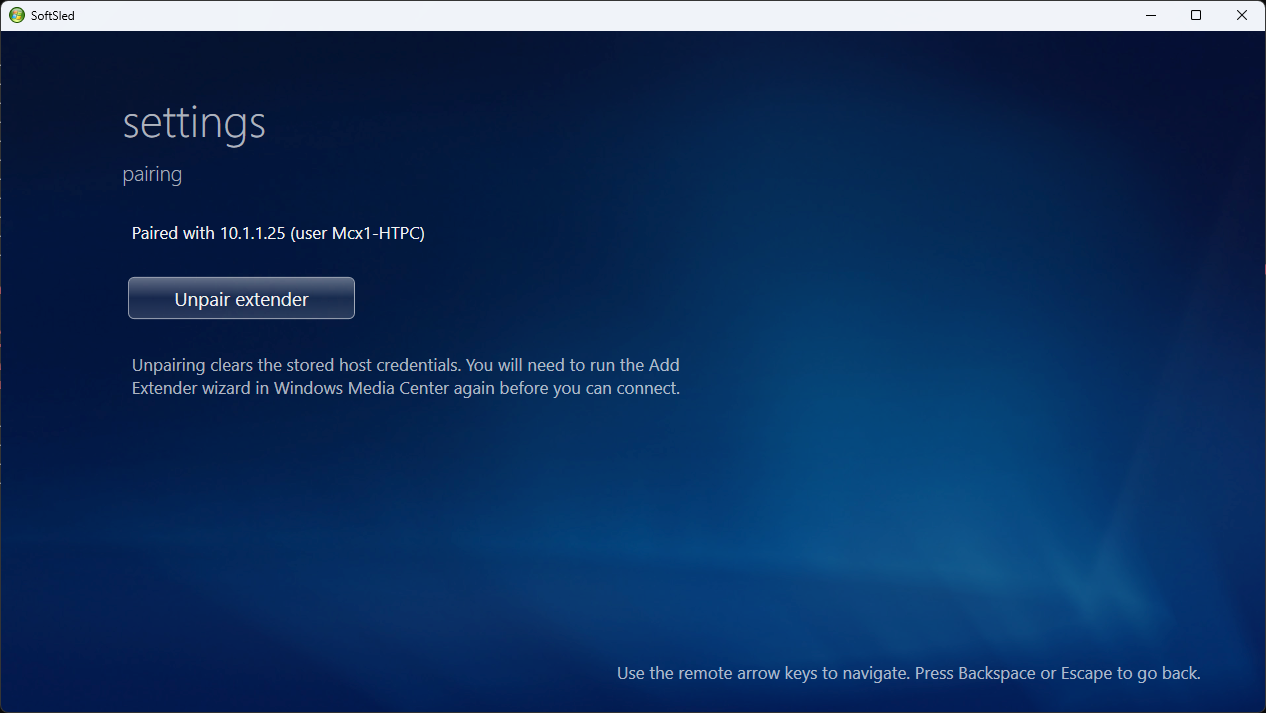
The pairing screen in the SoftSled shell.
6. Enjoy
You're now running the full Media Center experience on your extender PC. Navigate with the arrow keys or a Media Center RC6 remote (press F11 to toggle fullscreen, Esc to leave the session). From here you can browse live and recorded TV, music, pictures and video — see the Features page for what's supported, or How It Works to understand what's happening under the hood.
Mcx user's password needing a manual reset after pairing. Check the project's README and issues on GitHub for the latest guidance.